
(This post contains affiliate links. This means that if you purchase through these links I receive a small commission at no cost to you. For more information see our disclosure policy here)
I laugh when I think about the first time I had to stain wood! I had never touched stain, and thought it would be a good idea to list stained window panes online. Well this lady purchased 3. And she wanted them all stained, of course!
We got them all cut and without any experience or knowledge of staining I dipped a sponge into the stain and away I went.
Well, I’ve learned a few things along the way! We have made and sold over 1,000 signs all stained by yours truly.
Today I am going to share with you all my tips, advice, favorite supplies and experience!
Trust me, people get intimidated by staining, but it’s really pretty easy! If I can do it, you can figure it out too!
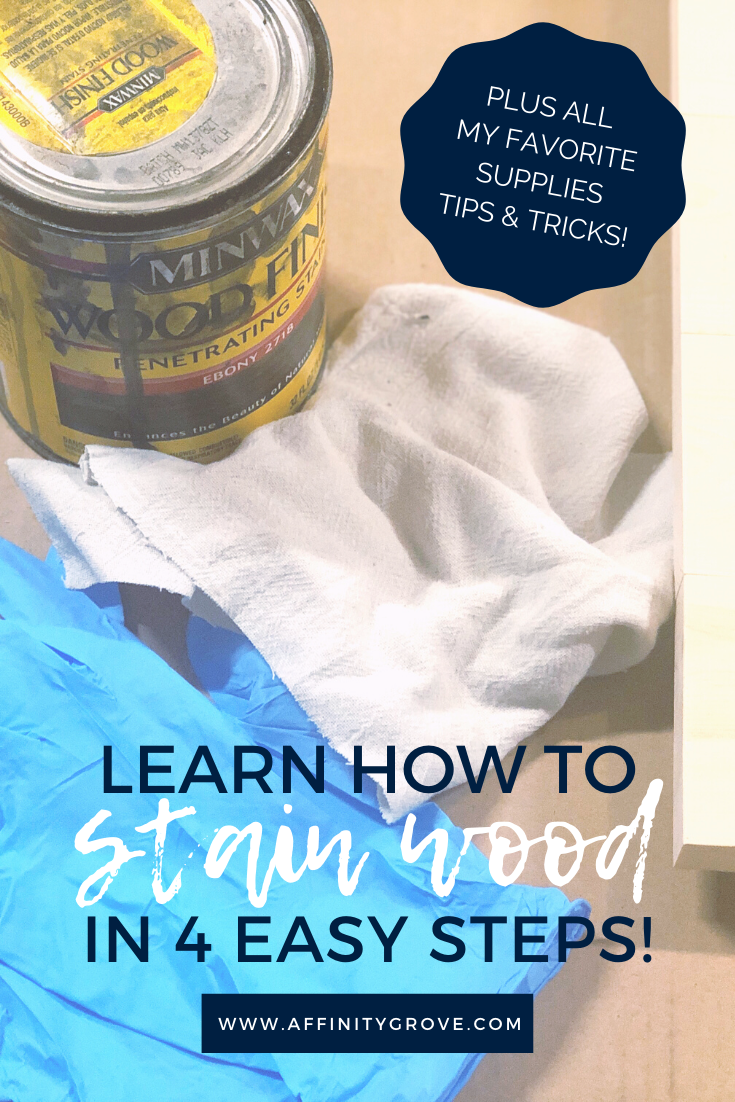
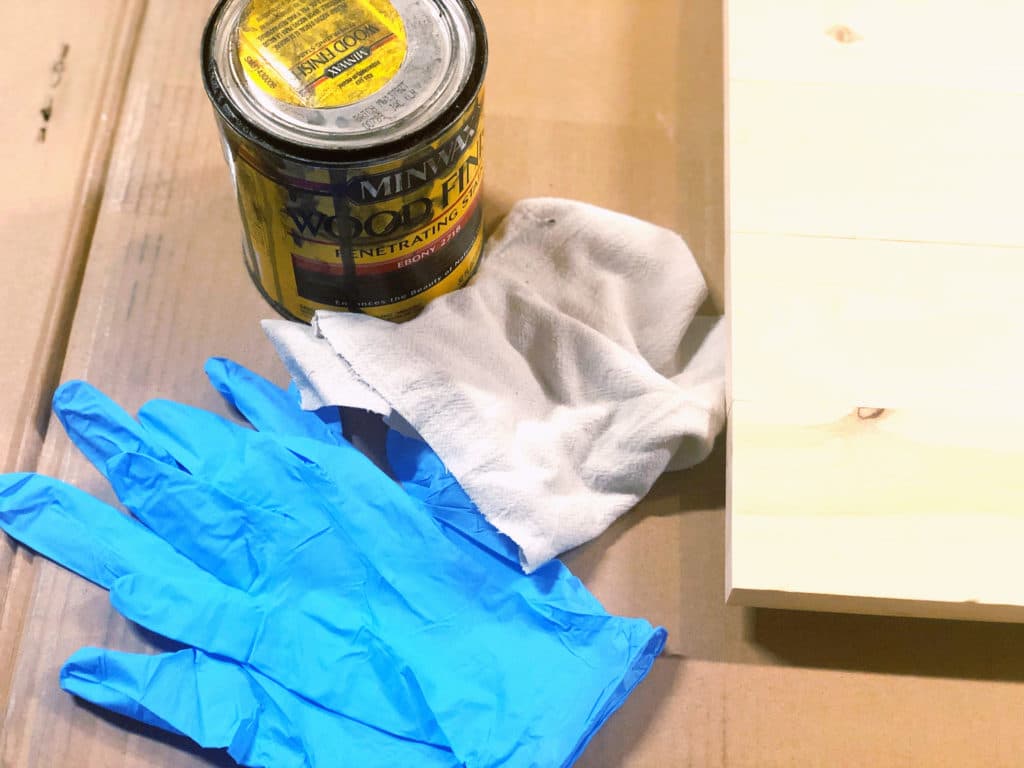
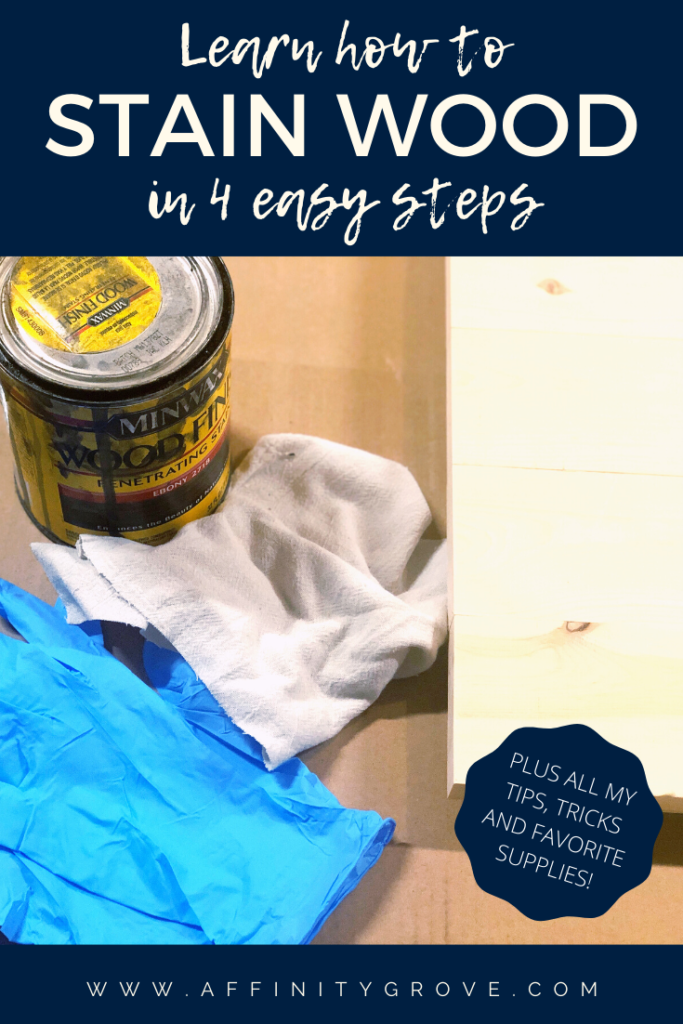
Gather Supplies
So I have learned a lot about supplies for staining. We have had really horrible rags we have used for application, and really great ones.
There are also so many different colors and kinds of stain!
So first things first gather all your supplies at once! You don’t want to get part way in and realize you’re missing something.
You will need:
Wood Stain Colors:
I have really come to love MinWax stain. It is a wipe on stain and it goes on so well and smooth, comes in tons of different colors, and finished nicely. I have tried a few different brands of stain, and this one always comes out being my favorite.
It really is the best wood stain for furniture, unfinished wood, and any other wood project you’re doing! I love it!
When you use stain make sure that you mix it so you get the vibrancy of the stain color. Sometimes the color pigment settles to the bottom and it seems almost watery without being mixed. You’re supposed to stir it to get it to reconstitute. I’ve always just shaken it for about 30 seconds and had no problems. What can I say, I’m a rebel! Haha!
My favorite stain colors are: (You can click on the Minwax pictures below for samples of the stain colors as well! )
Dark Walnut
This is a very neutral brown, and I really feel like it looks good with everything. This is preferable stain color, and it really is a very versatile color. If you think of the color brown and add a shade or so darker that is dark walnut.
Classic Gray
This gray is just like the name, classic gray. Keep in mine if you don’t stir (or shake if you’re me) it it will be super watery and won’t change the color of the wood at all. I have found that especially true with classic gray. The pigment settles to the bottom lots faster and in higher volumes than the other stain colors. This gray is a very pretty neutral gray. It doesn’t pull blue or purple and looks so great!
Ebony
If you don’t know what ebony is, it’s a really dark, expensive wood, and it’s beautiful! Ebony is a dark dark brown, almost black. In fact if you apply a few layers of stain, it can look pretty black, but does still have a brown hue.
I love ebony to do frames with, it looks so nice with white on the inside. The contrast is awesome!
English Chestnut
MinWax Pre-Stain Conditioner


Gloves
Remember that first time I stained the 3 window panes? Gloves did not even cross my mind!
And stain is messy, and the only other words I can think of are sticky and oily mixed together! Gloves are a must!
We first tried just normal vinyl or latex gloves but I was shocked at how often they tore. It’s like the stain did something that made them more prone to tearing?
So I would definitely recommend buying Nitrile Gloves. I have no idea why they are better or work better. Just trust me, they do!
Also be careful with what you wear, stain is not very forgiving!
Something to Apply Stain
We have tried lots of different things to apply stain, from staining pads to cut up dish towels, to staining rags. We’ve done it all. There are lots of staining rags that will claim they are lint free. But I have yet to find any that are 100% lint free. There is just lint that comes with most things your will stain with.
We have used these staining pads and they’re nice to use if you have a lot to stain. You hand doesn’t cramp as bad as with a cloth because you have something to actually hold onto.
Plus they hold a lot of stain so you don’t have to dip into the stain as often.
We have also used cut up t-shirts. You can buy packages of them to use or cut up old ones you already have. Just be careful to use only white in case the dyes come off!
But my FAVORITE things to use is cut up flour sack towels. They are the most lint free thing I have found. If you have really old ones to cut up they’re the best because they don’t leave any texture. New ones are great too, but I have found they put a slight (unnoticeable unless comparing side by side) texture.
Rarely do I have lint I have to brush or sand off after staining, and they’re really big so you can get a lot of rags of out just one towel!
Finish Coat
Just like everything else, we have tried a lot of things to finish with! And we have found 2 that are my favorites! The first is MinWax Polycrylic. It can be brushed on, or watered down and wiped on.
It’s water based so it cleans up with water which is SO nice! It comes in gloss, and satin so you can finish in the sheen you want!
Second is Krylon Colormaster Clear is my favorite because it’s in a spray paint can, and is so easy to finish with. It goes on smooth, and has a beautiful finished result!
It also comes in a variety of sheens. There is not clean up with this because you just spray on and you’re done! It also dries in about 20 minutes so you aren’t waiting forever for dry time!
Prep Wood
I would recommend with anything you stain to do a light sanding! This will just hit off any high spots, or potential slivers that want to impale your hands!
The higher grit sand paper you use the smoother the wood will get, and the longer it will take for the stain to absorb. Aka if this is your first time staining, be sure to sand so the wood is a little more forgiving.
I have found that the coarser the wood, the faster it soaks in the stain.
When we have worked with wood that we don’t want to sand down any further or a wood that soaks up stain quickly we always use a Pre-Stain Conditioner. If this is your first time staining wood, I would highly recommend this product! This stuff is a must is you are staining wood for beginners!
It basically soaks into the wood first so that the stain doesn’t end up really blotchy. It makes stain lots more forgiving.
If you’re opting to use the Pre-Stain Conditioner use it after you sand.
Apply the Conditioner with the grain of the wood. If you’re staining a large piece you can put on the conditioner in small increments and then apply the stain over it. If you’re just doing a small project you can coat the entirely of your project first.
You need to allow the conditioner to penetrate for 1-5 minutes. So if your project will take longer than 5 minutes to cover do it in small segments!
Apply Stain

Now that you have your Pre-Stain Conditioner on, (if you’re using it) it’s time to apply the stain!
You want to move with the grain of the wood. So if your staining something long you want to go all the way across from end to end, following the grain. Then work your way down by using side to side strokes with the grain of the wood.
If I am having a hard time getting the stain to adhere to the wood, or there are gaps I will stain against the grain. But when you’re first putting the stain on I would avoid going against the grain to avoid getting weird lines in your stain.
I typically start on the back of a project. This way I can make sure the stain is the color I want. If I haven’t mixed it well enough, I haven’t ruined the front and can fix it!
Once I finish the back of a project I have a good idea of how well the stain is penetrating the wood, and how careful I need to be as I go with the grain of the wood. I also know how fast I need to work to make sure it doesn’t have streaky lines in it!
Then I move onto the front and sides of the project. I almost always apply to the front first and then the sides, just in case the sides drip. And then I finish with one final wipe of the front.
Often times when you’re staining the sides, the stain with drip on the front or the back so beware of drips as you go! If it does drip just wipe it off in the direction of the grain.
To finish off I just take my rag or staining pad and just wipe across the project one more time without adding any extra stain. Make sure to go in the direction of the grain and just be sure you’ve covered it all!
See that wasn’t too bad was it?
You can apply a second coat of stain 4-6 hours after dry if you want the color to be darker.
Finish Coat

To finish up your project you need to add a finish coat!
This will seal the stain and add a sheen if you choose! MixWax stain recommends that you apply the finish coat at a minimum of 8 hours after stain application.
To be honest, I rarely wait that long unless it’s a super nice project! But I have never ruined anything from putting a finish coat on too early.
We usually wait until to feel try to the touch. Probably at least an 1. But you should probably follow the MixWax recommendations if you’re concerned!
Again apply the finish coat in the direction of the wood grain.
The finish coat will really make the color of your stain pop and will make the piece look more finished!
Now that you have the finish coat on there, you’re done! Stand back and admire your stained piece of wood!
And then get to work with whatever else you’re doing with it! 🙂
Remember those 3 window panes? Well guess what, they turned out beautiful! Even for not knowing anything about how to stain wood!
Really I told you it was easy! But it can be intimidating to start! I hope your staining project goes well, and that your finished product is everything you envisioned! If you’re looking for something to do with your freshly stained board, check out this post on how to easily make a hand lettered sign!
Best of luck with all your staining!
No comment yet, add your voice below!